Key Generation
This page guides you to generate the API key and Vendor code to login into Firstock Developer API.
This IP whitelisting process has been implemented in accordance with SEBI’s latest security guidelines, which will become mandatory from April 1, 2026.
Overview
API keys are required to authenticate your login requests to the Firstock platform. Additionally, IP whitelisting ensures that API access is restricted only to trusted IP addresses .By following the steps below, you will generate a secure API key, whitelist your IP, and be ready to integrate Firstock’s trading and market data services into your application.
Why You Need an API Key
- Authentication: An API key uniquely identifies you when you interact with Firstock APIs.
- Access Control: Generates jkey (susertoken) which helps in certain operations (e.g., placing trades, retrieving account details).
Why IP Whitelisting is Required
- Enhanced Security: Ensures that only approved IP addresses can access the APIs .
- Regulatory Compliance: Mandatory as per SEBI guidelines .
- Access Restriction: Prevents unauthorized systems from making API requests
Prerequisites
- Account Access: Ensure you have account access to generate API keys on key generation platform.
- Key Management Section: Familiarize yourself with the portal or tool where keys can be created (e.g., “API Keys,” “Profile,” and “Docs” sections in your dashboard).
Steps to Generate an API Key
1.Navigate to Key Generation
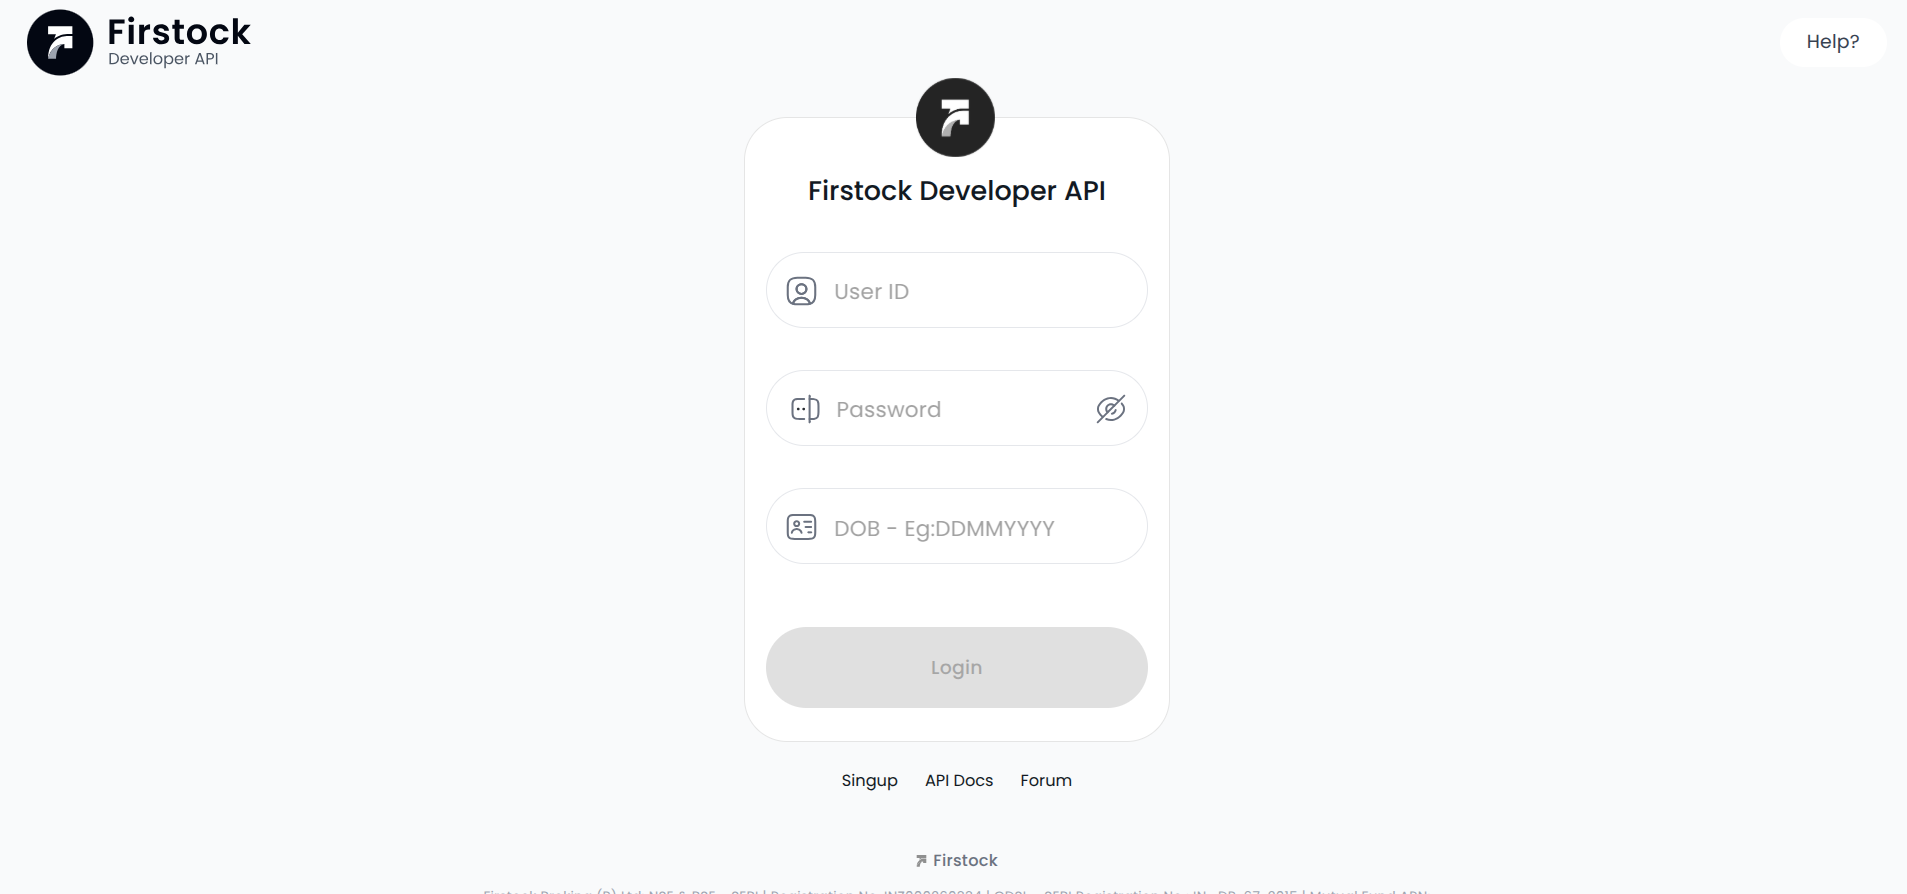
- First, log in to the key generation portal on the provided Key Generation.
2. Generate a New Key
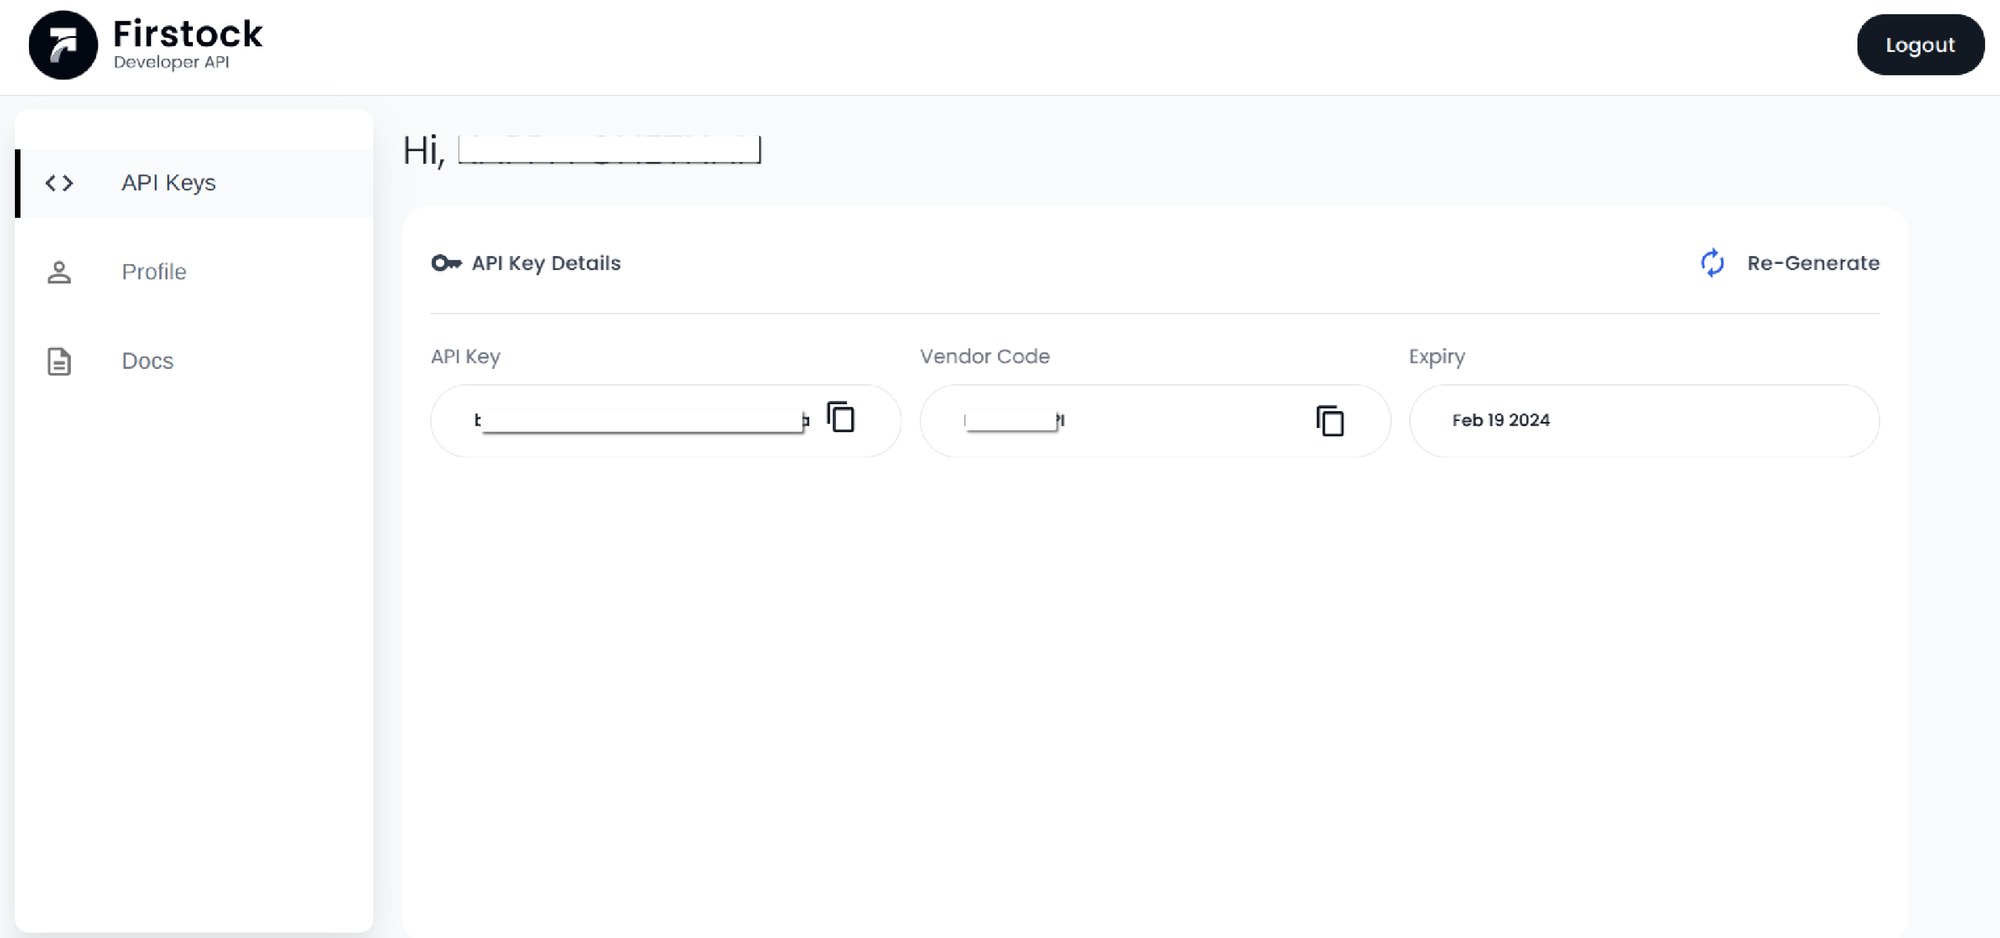
- In your dashboard, locate the API Keys.
- Click on the button or link to Generate Key or Create New Key.
- The appkey and vendor code will be generated
3.Securely Store Your Key
- After generation, your API Key (and Secret Key, if applicable) will be shown.
Important: The key will expire after 365 days and a new key has to be generated.
Steps to Whitelist Your IP Address
- Click on the “Add IP” button
- Enter your IP address details:
- Primary IP Address (Mandatory)
- Secondary IP Address (Optional)
- A maximum of two IP addresses can be whitelisted per account
- Click on Submit to save the changes
Updating or Changing IP Address
- Click on the “Delete IP” option
- Follow the steps mentioned above to add the new IP address
Best Practices
- Protect Your Keys: Never expose your keys in client-side code or in publicly accessible repositories.
- Use HTTPS: Always send your key over secure HTTP (HTTPS) to prevent interception.
- Rotate Regularly: Update or regenerate your keys periodically to maintain a higher level of security.